
FoxyProxy
About FoxyProxy
FoxyProxy is a simple and free browser extension that lets you easily use Nimble IP on Firefox or Chrome. While setting up your proxy server connection can be done without an extension, FoxyProxy provides a simple and flexible interface as well as additional options that browsers lack.
Installing FoxyProxy
Installing FoxyProxy is very straightforward. Simply follow the steps on your browser of choice:
Chrome setup
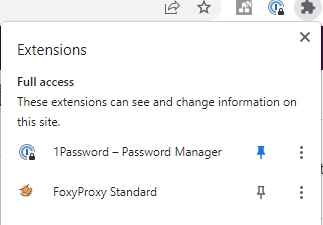
After downloading, click the extensions button on the upper right of Chrome and pin the extension to the toolbar
2. Next, click the FoxyProxy icon to open the quick activation menu, and select “Options” to modify the proxy settings.
3. On the left navigation menu, go to “Proxies”.

4. On the options menu to the right, select “Add New Proxy”.
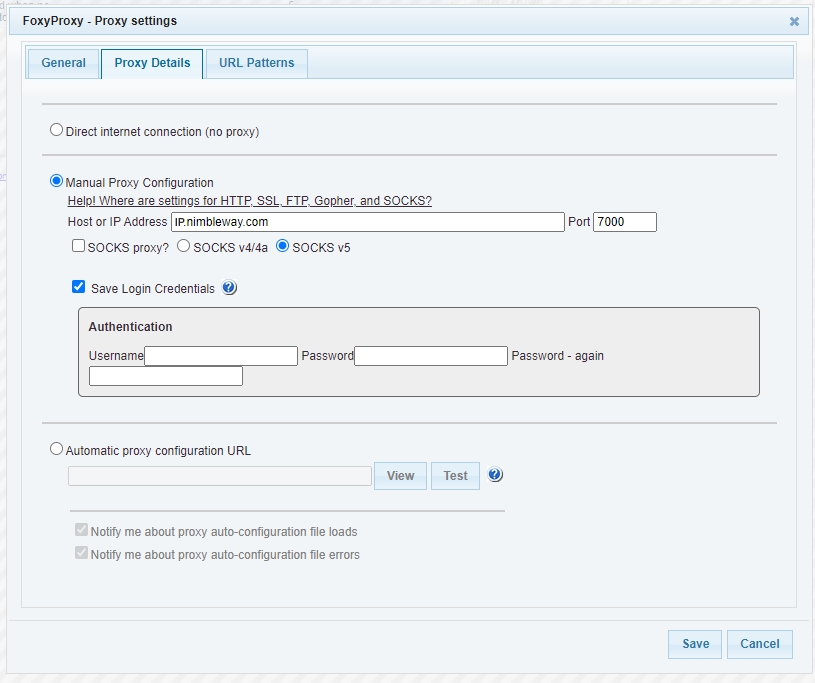
5. In the Proxy Settings dialog that opens, enter the following credentials:
a. Host ⇒ ip.nimbleway.com
b. Port ⇒ 7000
c. Check the option to “Save Login Credentials” (click ‘OK’ on the message that pops up, explaining how FoxyProxy handles usernames and passwords).
d. Username ⇒ Nimble’s pipeline username string
e. Password ⇒ Nimble’s pipeline password
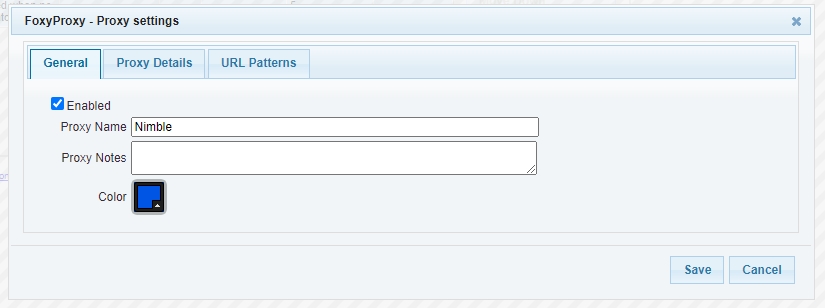
6. Go to the “General” tab and set a name for your Proxy (we used Nimble).
7. There are two ways to enable the proxy,
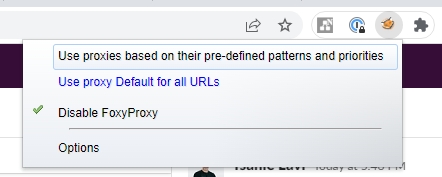
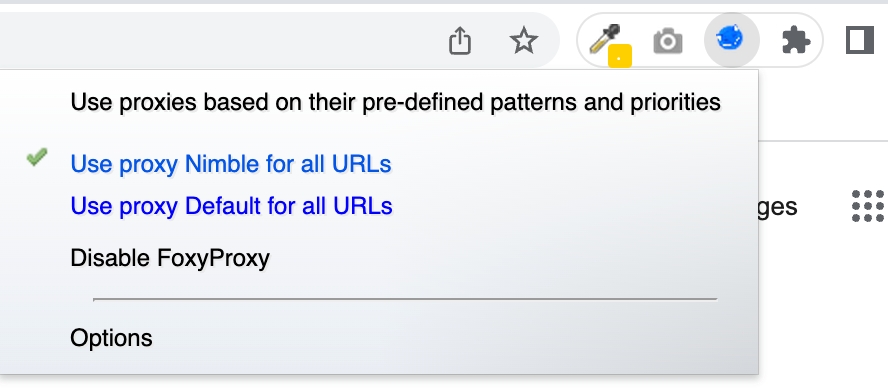
a. From the FoxyProxy options page, change the proxy mode from “Disable FoxyProxy” to “Use proxy yourProfile for all URLs.

b. Alternatively, you can use FoxyProxy’s quick menu to activate the proxy from any page. Click on the FoxyProxy icon in the toolbar, and then select your proxy profile.
Firefox setup
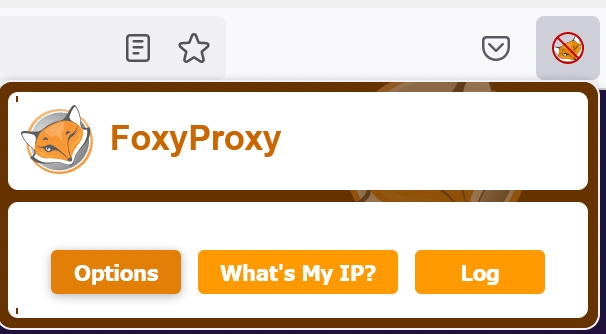
After downloading the add-on, Firefox will automatically add a shortcut to the toolbar. Simply click the FoxyProxy icon to open the quick activation menu, and then click “Options” to modify the proxy settings.
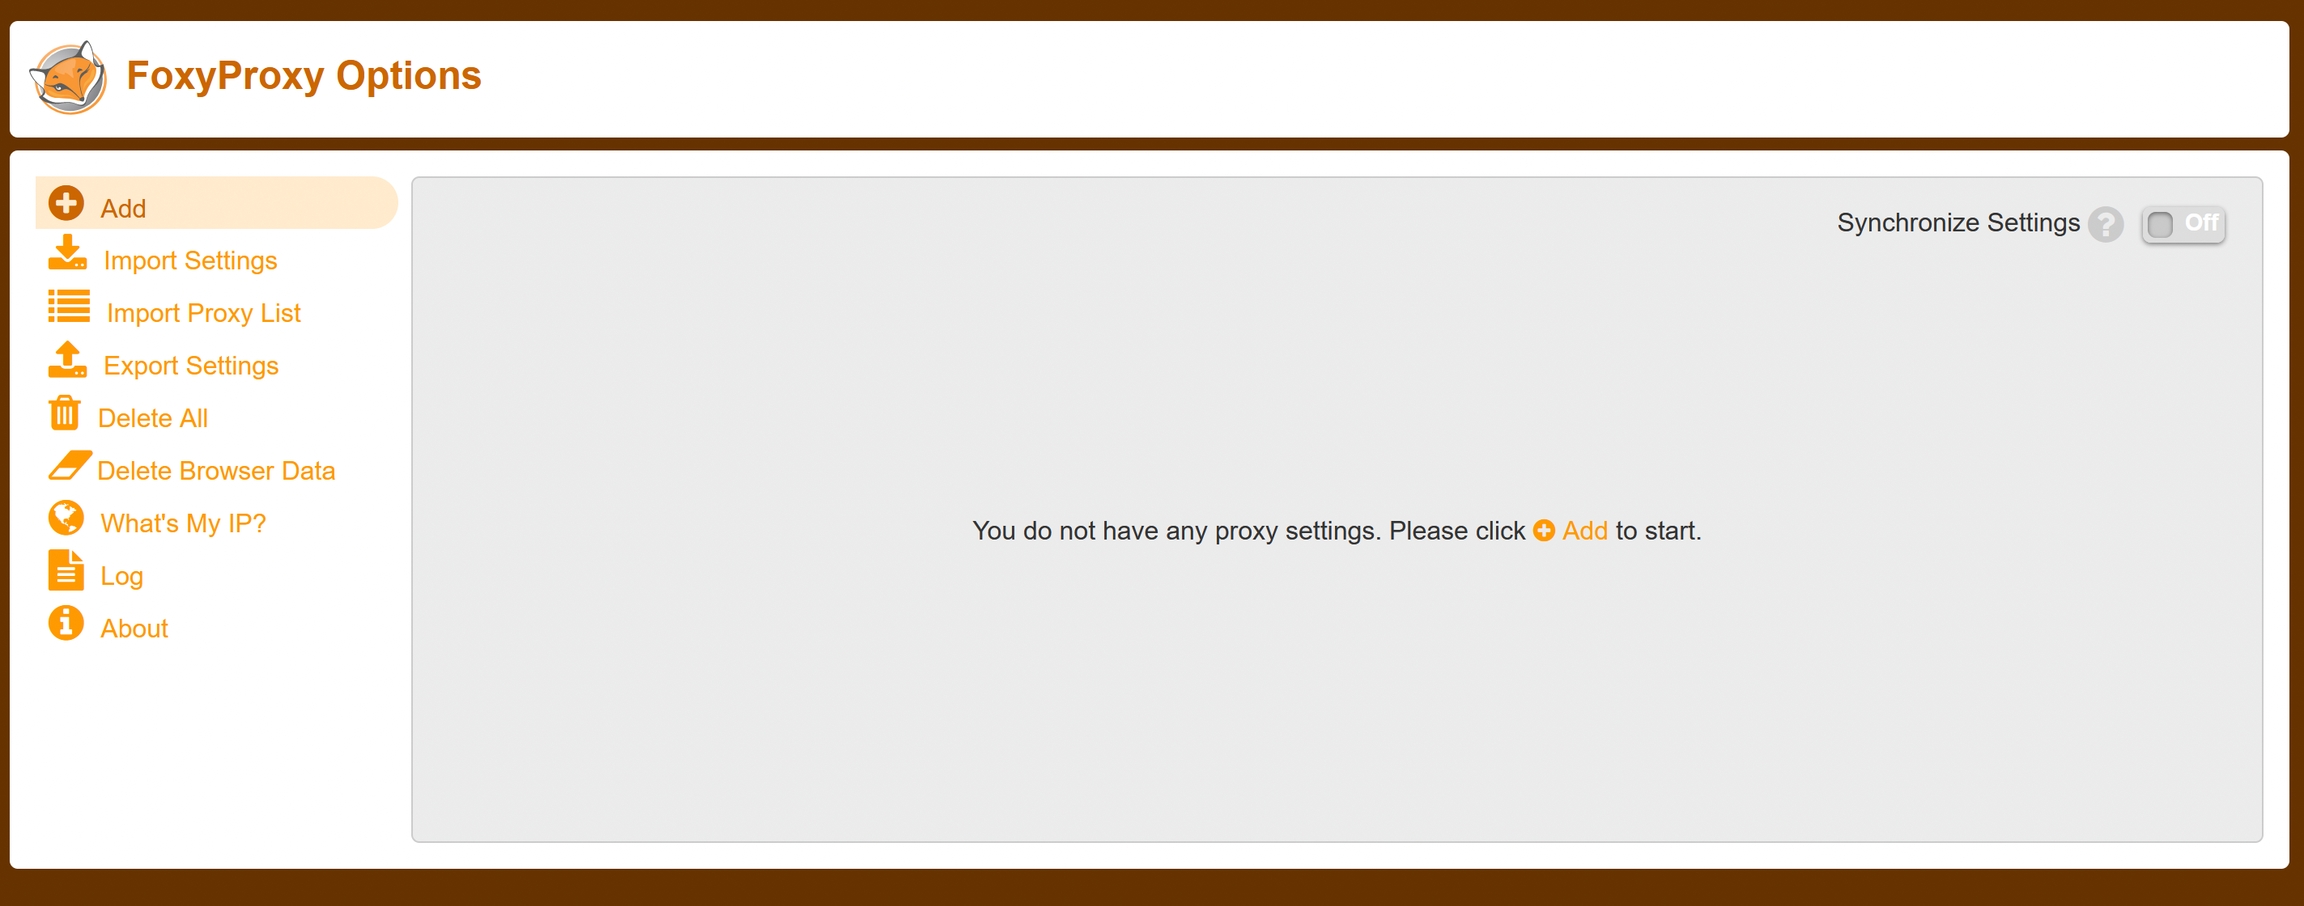
2. On the left navigation menu, click “Add” to create a new proxy profile.
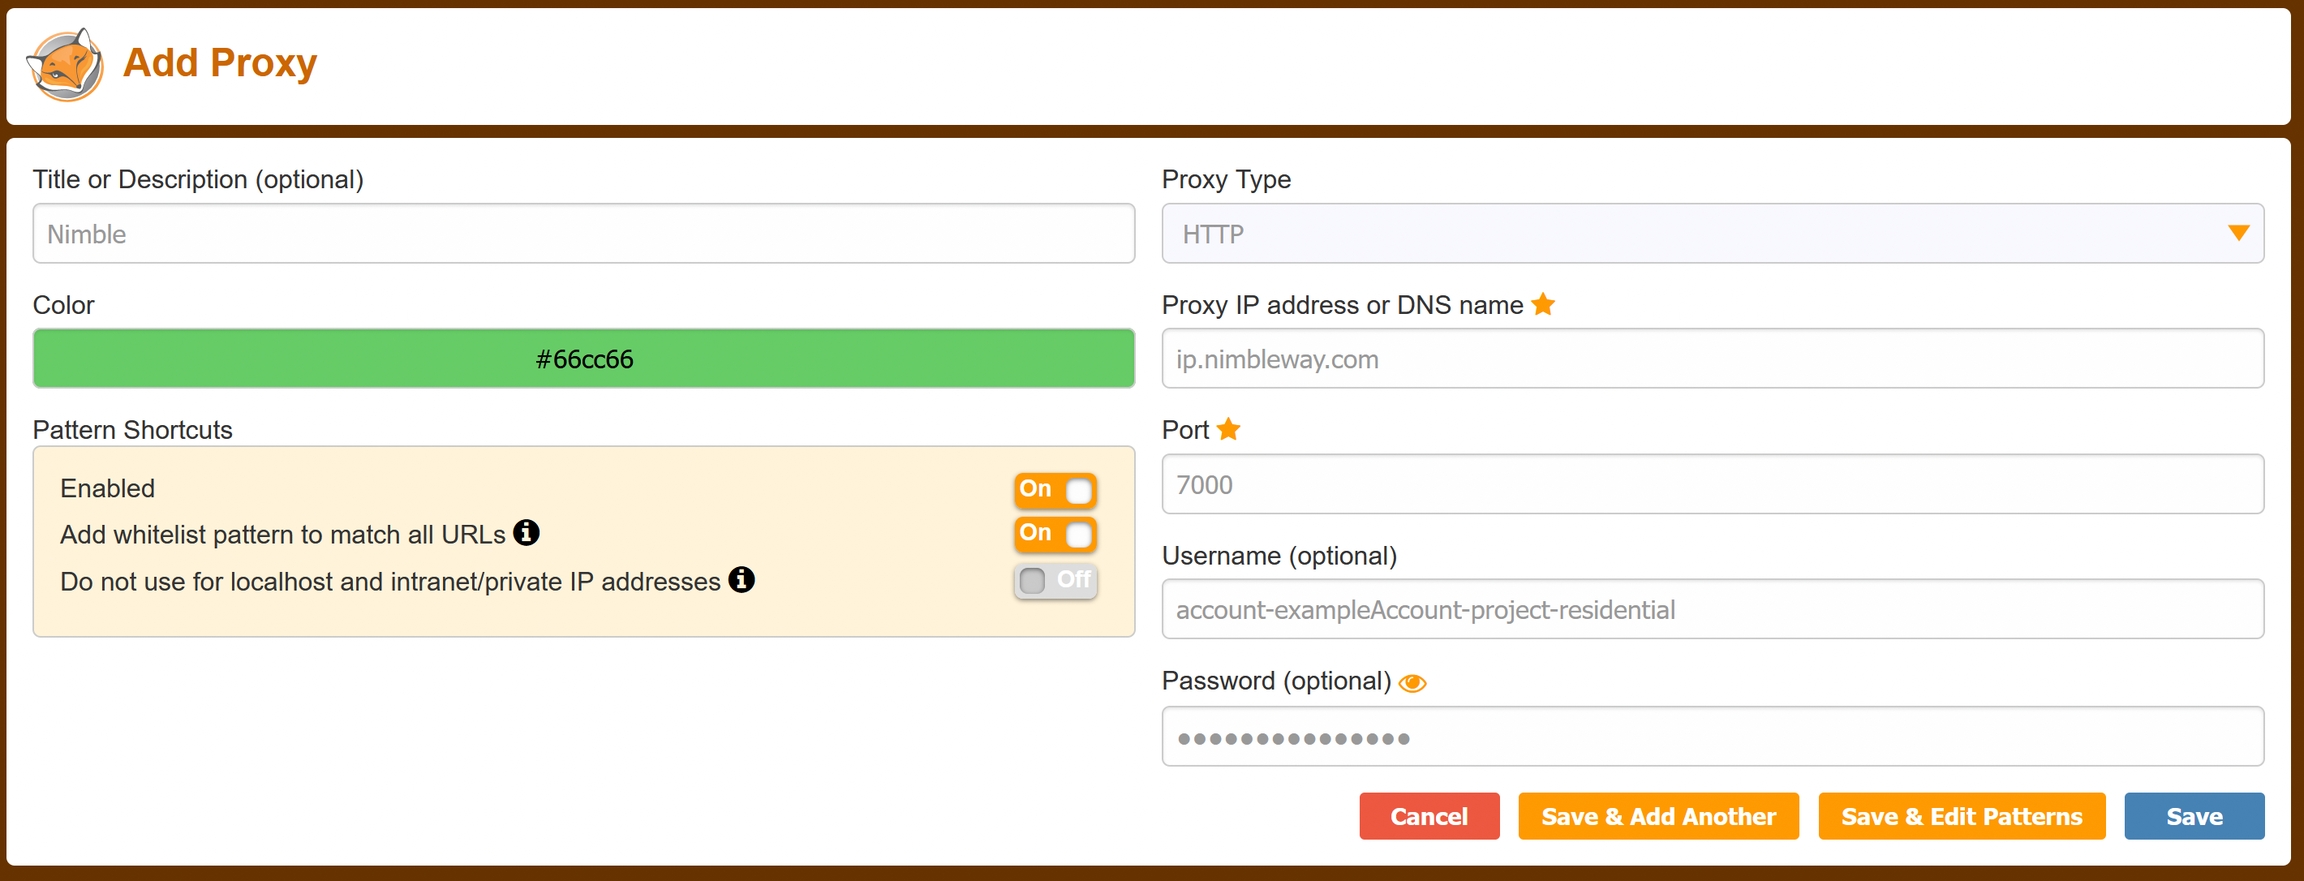
3. In the “Add Proxy” page, set a name for this proxy setup (we used Nimble), then enter the following details:
a. Proxy IP address or DNS name ⇒ ip.nimbleway.com
b. Port ⇒ 7000
c. Username ⇒ Nimble’s pipeline username string
d. Password ⇒ Nimble’s pipeline password
e. Finally, click save.
4. There are two ways to enable the proxy:
a. From the FoxyProxy options page, change “Turn Off (Use Firefox Settings)” to the title you set for your proxy profile (we used “Nimble”).
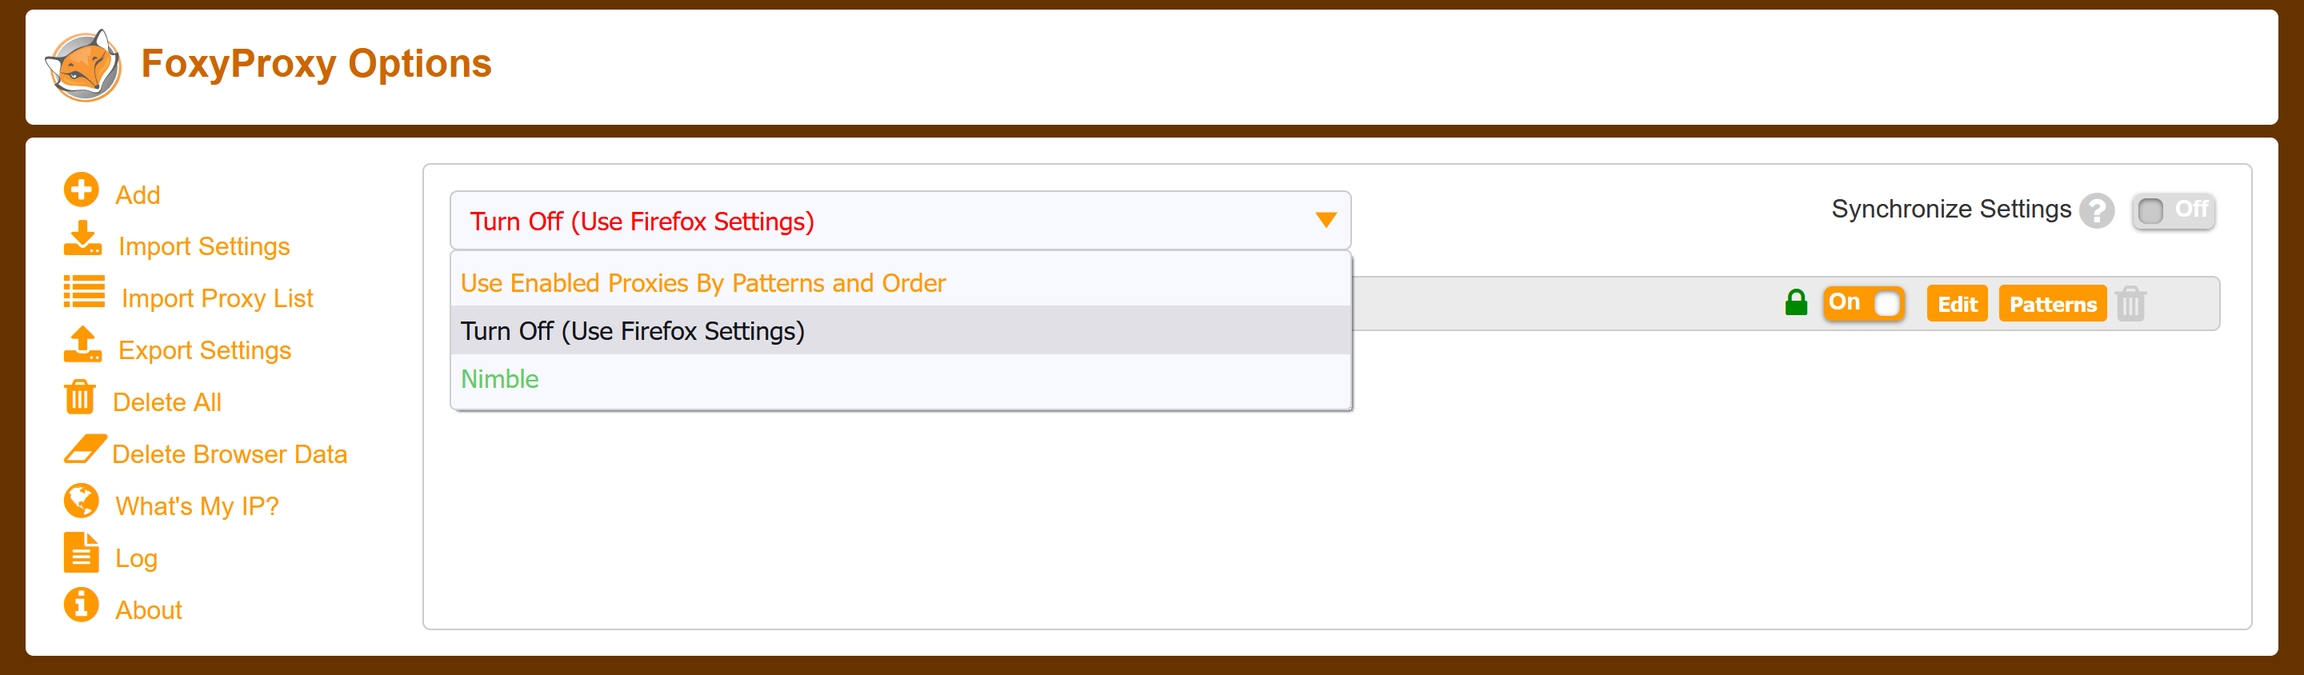
b. Alternatively, you can use FoxyProxy’s quick menu to activate the proxy from any page. Click on the FoxyProxy icon in the toolbar, and then select your proxy profile.

You can test that the proxy is working correctly by clicking on “What’s My Ip?”. On the resulting page, the displayed location will differ from your actual location, confirming that Nimble IP is channeling your requests.
Last updated